
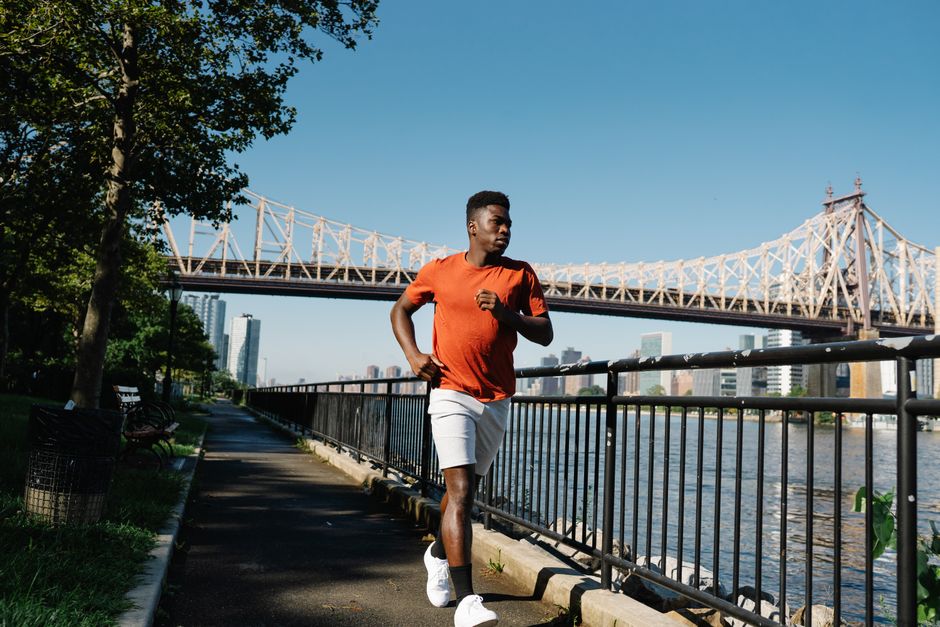
You add two miles to your long run, take the usual stairs after work, and notice a dull ache beneath one kneecap by dinner. Nothing snapped. There is no dramatic swelling. The knee simply feels less willing than it did last week. That pattern often points to a load problem, not a single bad stride.
Runner’s knee is the common name for patellofemoral pain, which usually feels like pain around or behind the kneecap. Targeted strength work can help your hips, thighs, and trunk control the forces created by running. It works best when paired with gradual mileage changes, sensible recovery, and a clear plan for pain.
This routine is for prevention and early, mild symptoms. A hot, red, badly swollen, locked, or unstable knee needs medical assessment. So does pain after a fall, collision, or other major injury.
The knee problem starts with load, not one bad stride
My clear position: the best prevention strategy is a small, repeatable strength routine that prepares the hip and knee for the amount of running you actually do. Chasing a perfect foot angle or buying a special brace does not replace stronger muscles and better load control.
What runner’s knee usually means
Patellofemoral pain refers to irritation around the joint between the kneecap and thigh bone. Runners often feel it while going downstairs, running downhill, squatting, or sitting with the knee bent for a long time. The pain can build gradually after a new training block, a faster pace, more hills, or a sudden jump in weekly distance.
The knee does not work alone. The quadriceps help absorb force when your foot lands and your body lowers. The gluteus medius and other hip muscles help keep the thigh from drifting inward during single-leg movement. Your calf and foot also influence how the leg meets the ground. A weakness or control problem in one area can make another area work harder.
Why hip and knee strength belong together
Strength training gives the leg more options for handling repeated impact. A stronger quadriceps can control knee bend. Stronger hip muscles can help control the position of the pelvis and thigh. Better single-leg balance can make your stride more stable when fatigue appears late in a run.
This does not mean the knee must stay perfectly still. Human movement is not a mannequin pose. The useful goal is controlled movement that matches the task, without a sharp increase in pain or a collapse that you cannot correct. The American Physical Therapy Association’s patellofemoral pain guide supports exercise that targets both hip and knee muscles.
When prevention advice is not enough
Do not label every running injury runner’s knee. Pain behind the knee, marked swelling, locking, repeated giving way, numbness, fever, or pain after a hard impact can point to another problem. Stop running and seek clinical advice when those signs appear. For milder front-of-knee discomfort, reduce the aggravating load and start with controlled strength work rather than testing the pain on every run.
A two-day strength plan that fits around running
The most useful plan is the one you can repeat for at least six weeks. Schedule strength on two nonconsecutive days, such as Monday and Thursday. Keep at least one easier day between demanding running and heavy leg work. The table below gives a starting point for a recreational runner who completes three runs each week.
| Day | Training | Purpose | Starting dose |
|---|---|---|---|
| Monday | Strength session A | Hip control and quadriceps capacity | 3 exercises, 2 sets of 8 to 12 |
| Tuesday | Easy run or brisk walk | Low-stress aerobic work | 20 to 40 minutes at conversational pace |
| Wednesday | Rest or mobility | Allow recovery | Light movement only |
| Thursday | Strength session B | Single-leg control and calf support | 3 exercises, 2 sets of 8 to 12 |
| Friday | Easy run | Practice steady running form | Keep the route flat at first |
| Saturday | Rest | Recover before the long run | No hard leg training |
| Sunday | Long easy run | Build endurance gradually | Add distance only when symptoms stay calm |
How to choose the starting level
Begin with a load that leaves about two controlled repetitions in reserve. The last repetition should look like the first. If your knee feels worse during the session, shorten the range, reduce resistance, or stop that movement. Mild effort is expected. Sharp pain is not a useful training signal.
For someone with no symptoms, two sets of 8 to 12 repetitions is a practical start. For someone with mild pain, isometric work such as a short wall sit may feel easier than repeated deep squats. A physiotherapist can adjust the plan if a basic movement causes pain in daily life.
How to progress without rushing
Change one variable at a time. First add repetitions until you reach 12 with steady control. Then add a third set or a small amount of resistance. Do not increase strength-work volume and weekly running distance in the same week. A simple rule is to keep the next-day response equal to or better than the previous baseline.
Runner’s knee prevention is not a race to the heaviest squat. It is a six-week habit that makes normal running loads feel normal again.
Six exercises that train the muscles runners rely on
Use these movements as a menu, not a punishment circuit. Choose three per session and rotate the selection across the week. Move slowly enough to notice where your knee travels, but do not force it into one rigid line.
- Side-lying hip abduction: Lie on one side with the lower knee bent and the upper leg straight. Lift the top leg 30 to 40 centimetres without rolling your pelvis backward. Pause for one second, then lower it slowly. Perform 2 to 3 sets of 10 to 15 per side. This is a good first choice when squats are irritating because it loads the hip without much knee bend.
- Bridge with alternating march: Lie on your back with both feet flat and knees bent. Lift the hips until your shoulders, hips, and knees form a gentle line. Hold the pelvis level while you lift one foot a few centimetres, replace it, and switch sides. Start with 2 sets of 8 marches per side. Stop if your lower back takes over.
- Supported split squat: Hold a wall or sturdy chair. Step one foot forward and lower only as far as you can keep the front foot planted and the knee comfortable. Drive through the whole foot to stand. Begin with 2 sets of 8 per side. Progress by increasing range before adding weight. This trains the thigh and hip in a position closer to running than a seated leg extension.
- Low step-down: Stand on a step about 10 to 15 centimetres high. Slowly lower one heel toward the floor, then return to the starting position through the standing leg. Keep the pelvis level and use a handrail if needed. Start with 2 sets of 6 to 10 per side. Raise the step only when the lower knee stays controlled and the next-day response remains calm.
- Single-leg Romanian deadlift: Stand tall, soften one knee, and hinge the hips backward while the other leg reaches behind you. Keep the back flat and return by pressing the standing foot into the floor. Use a wall for balance. Perform 2 sets of 6 to 10 per side. This builds hip strength and balance with less repeated knee bending than a lunge.
- Calf raise: Hold a wall, rise onto the balls of both feet, pause for one second, and lower over two seconds. Progress to one leg when 15 smooth repetitions are easy. Complete 2 to 3 sets. The calf helps manage the forces that travel through the lower limb during each landing, so it should not be ignored in a knee plan.
Optional equipment and the useful limit
You do not need a gym. A bodyweight routine and a stable step can cover the basics. If you already own equipment, a TheraBand CLX loop with multiple handholds, a Rogue Monster Band with a 41-inch loop, or a TRX Suspension Trainer with adjustable straps can add resistance or balance support. None of these tools fixes runner’s knee by itself. The best option is the one that lets you increase resistance in small steps while keeping the movement comfortable.
Technique mistakes that reduce the benefit
Do not rush through the lowering phase, bounce at the bottom, or add resistance before you can control your bodyweight. Do not let fatigue turn a step-down into a sideways collapse. Do not stretch aggressively into knee pain and call that strengthening. The exercise should challenge the muscles without producing a sharp or escalating joint response.
Questions runners ask before they add strength work
Can I keep running while I build strength?
Yes, if the run does not create a growing pain response during the session or a clear setback the next day. Start by reducing distance, hills, speed, or frequency. Flat easy running usually makes a better test than intervals or downhill repeats. If the knee hurts during ordinary walking or stairs, pause running and arrange an assessment instead of trying to train through it.
How much pain is acceptable during an exercise?
For prevention, zero pain is the simplest target. For mild, already diagnosed patellofemoral pain, some clinical services use a pain ceiling of about 4 out of 10 when symptoms settle within roughly 45 minutes and do not worsen sleep or next-day activity. That rule is not permission to push through sharp pain. If symptoms rise beyond that level, reduce the range, repetitions, or resistance.
Do knee sleeves, shoe inserts, or taping prevent the problem?
They may change comfort for some runners, but they are not the foundation of prevention. A sleeve can make the knee feel supported without improving hip or quadriceps capacity. Inserts may help a specific runner after an assessment, yet buying them before checking training load and strength can waste money. Taping may help someone perform exercises with less pain, but it does not replace progressive exercise.
The NHS guidance for runners advises stopping an exercise that causes pain and getting medical advice when symptoms are severe, swollen, or persistent. That is a safer standard than guessing from a social media video.
Use the symptom response to choose your next step
The best prevention plan is the one that leaves you ready for the next training day. More work is not automatically better. Compare your symptoms before exercise, during the final set, later that day, and the following morning.
| Response | What it suggests | Next action |
|---|---|---|
| No pain and normal next day | The current load is manageable | Add 1 to 2 repetitions or a small resistance increase |
| Mild effort discomfort that settles quickly | The exercise may be suitable | Keep the same dose for one more session |
| Pain rises during the set or changes your form | The movement is too difficult | Shorten the range or return to an easier version |
| Pain remains higher for more than 24 hours | The total load was too high | Reduce running and strength volume, then reassess |
| Swelling, locking, heat, severe pain, or giving way | This may not be simple runner’s knee | Stop self-management and seek clinical care |
What to change first
Change the training load before replacing every item in your running kit. Remove hills and speed work first, then reduce distance if needed. Keep easy movement if it does not worsen symptoms. In strength sessions, reduce depth or resistance before abandoning the entire routine.
The compressed verdict
For runners who want one practical starting point, perform two strength sessions each week using a bridge variation, a supported split squat, a low step-down, and calf raises. Build from 2 sets of 8 to 12, progress one variable at a time, and keep running increases modest. That combination gives the hip, thigh, calf, and knee a chance to handle training before the next mileage jump creates a problem.
Medical Disclaimer: This content is for informational purposes only and does not constitute medical advice. Always consult a qualified healthcare professional before making health-related decisions.